The VPN is dead, long live the... zero-trust solution!
For those who have not heard of Twingate, which until recently included me, they are a company looking to rid the world of VPNs. As someone who has setup a few virtual private networks over the years I was immediately drawn to this new product which stated:
Replace corporate VPNs with a more secure, usable and performant zero trust access solution
Well I'm sold! Let's dive in!
Firstly if you haven't already got a Civo account, you can head over to sign up and get $250 credit for 1 month.
From this point on I'm assuming you're all set up on Civo, have
kubectlinstalled and can connect to a cluster on your account.
Twingate account setup
Setting up a Twingate account is pretty painless, there is a free tier for personal use and testing. Sign up for one here.
Once you have your account you need to create a network in your account.
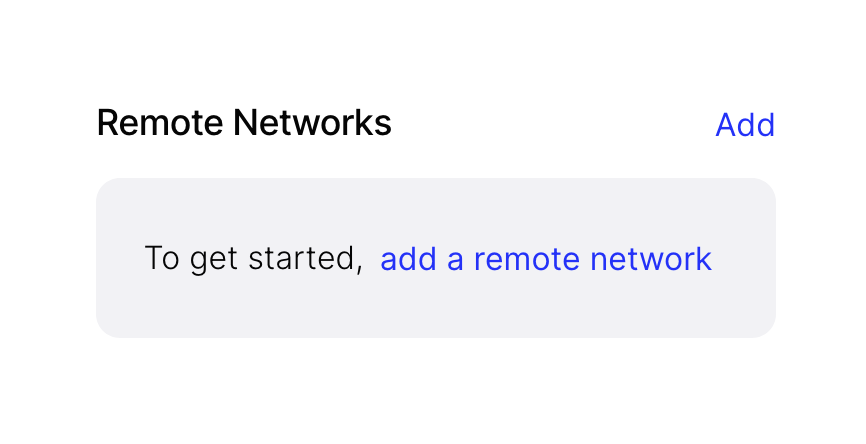
Click to add a new network:
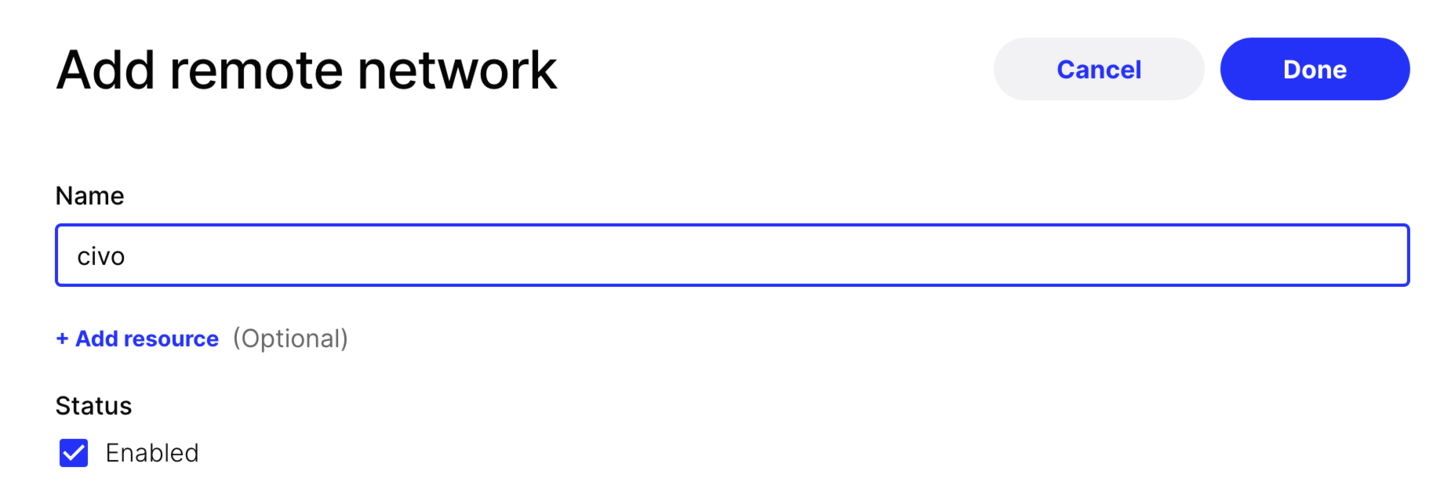
Name your new network:
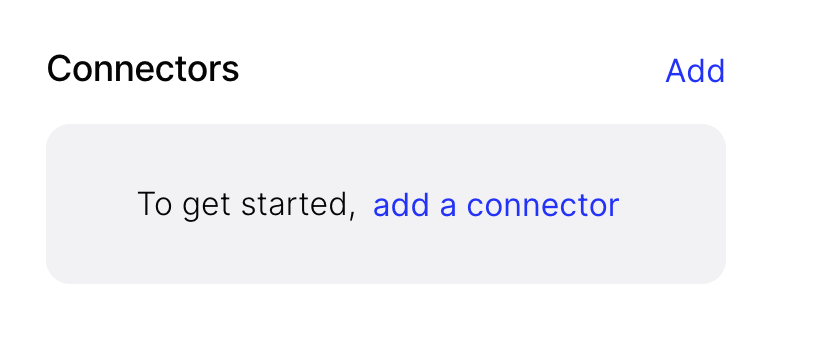
Once you have a network we want to create a connector in that network:
Next generate a token:
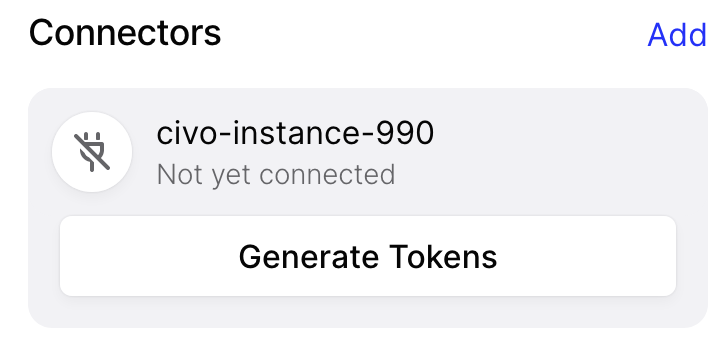
You will then need to authenticate again and you should see the Docker script.
Now copy and paste this to a text file as you will need the values to populate your manifest to deploy to your cluster. Once you have them, you can close this screen.
Deploying Twingate to our cluster
For the purpose of this demo I'll just create a pod, but you can obviously use a deployment here.
Copy and paste the below template to a new file called twingate.yml populating the fields labeled ENTER HERE with the values you copied earlier.
apiVersion: v1
kind: Pod
metadata:
  name: ENTER HERE
spec:
  containers:
  - env:
    - name: TWINGATE_URL
      value: ENTER HERE
    - name: TWINGATE_ACCESS_TOKEN
      value: ENTER HERE
    - name: TWINGATE_REFRESH_TOKEN
      value: ENTER HERE
    - name: LOG_LEVEL
      value: "3"
    image: twingate/connector:1
    imagePullPolicy: Always
    name: connector
    resources:
      requests:
        cpu: 50m
        memory: 1G
  restartPolicy: Always
Now let's apply this manifest to our Civo cluster:
kubectl apply -f twingate.yml
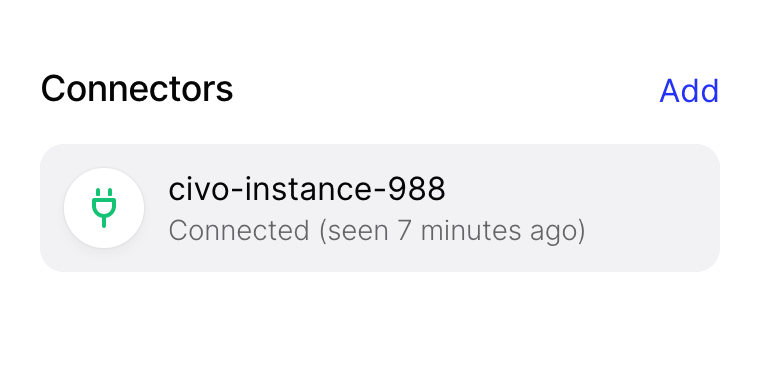
Now going back to the Twingate console, you should see that in a few seconds your connector is available:
Now we need to create a resource. To do that, click the add resource button where you can fill in some details of an internal service. In my example it's a Grafana service:
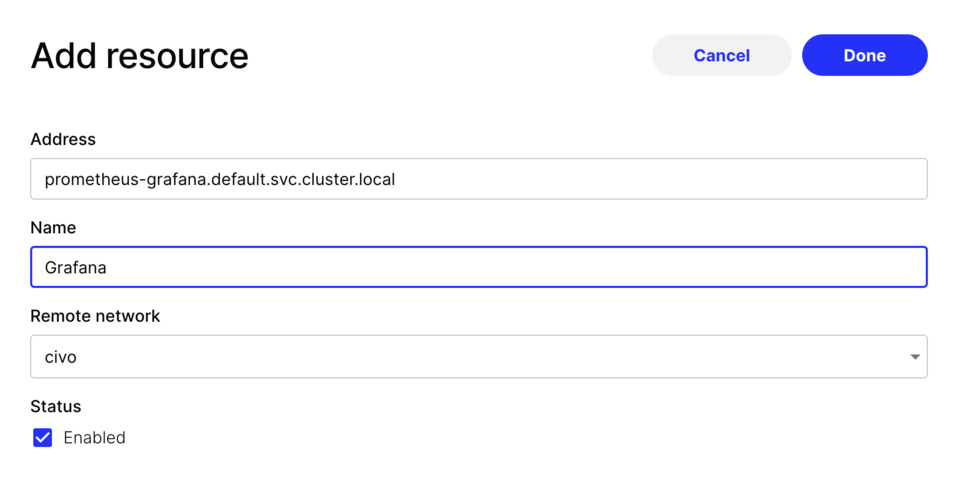
As you will notice you can use DNS records or IP addresses here.
After a couple of minutes the resource will show green:
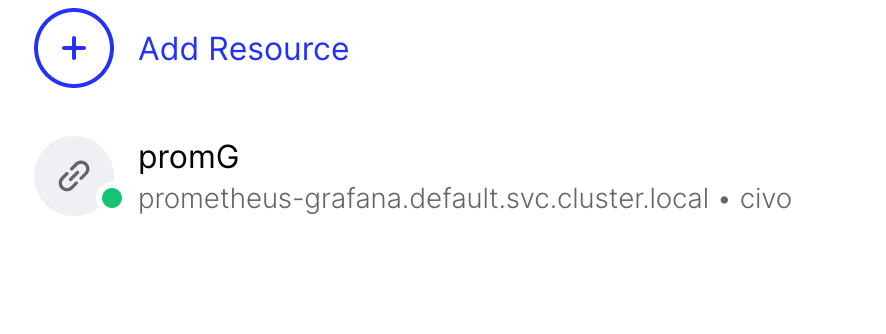
This means all is well and we can move onto the remote connection.
Connecting remotely
You can download the correct application for your device from the Twingate downloads page.
Once you have it downloaded, open the app and authenticate using your credentials.
Once it shows as connected you can try accessing your resource. It may take a minute or so to register, so if it doesn't work immediately just wait a little while.
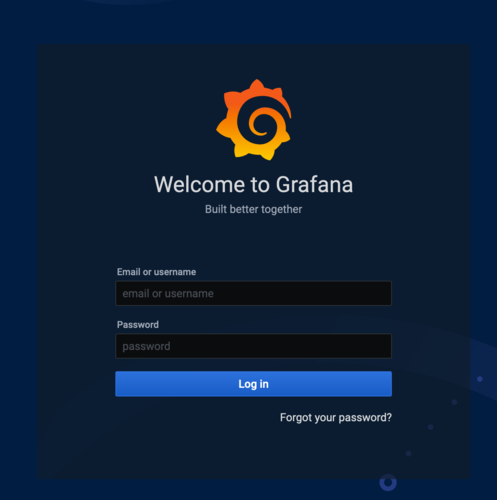
Voila! You now have remote access into a single specific service in your K3s cluster. You can obviously expand this to more services or subnets if you like.
Wrapping up
Having only spent about an hour with this product I really like it. You can just add more connectors to different networks and just leave the application running. Install it anywhere and connect to all your private networks in a hassle free and secure way!
The enterprise offerings look really interesting too!
Any questions or if you have any issues with this guide please let me know via Twitter. Let Civo know on Twitter if you have tried this guide too!
Thank you for reading!


