As more businesses are moving to the cloud with cloud-native solutions, having a cloud IDE (Integrated Development Environment) can help you deliver code faster and more reliably. Cloud IDEs often provide features like cross-platform support and instant creation. A Cloud IDE offers a centralized creation and testing environment for you and your team, while minimizing platform incompatibility. In other words, you can have a pre-configured development environment in the cloud that is independent of your own computer's operating system and limitations.
Eclipse Theia is an "extensible platform to develop multi-language cloud & desktop IDEs with state-of-the-art web technologies". Visually, it is designed to look and function in the same way as the Microsoft Visual Studio Code, which means that it supports multiple programming languages, has a versatile interface and an integrated terminal. What distinguishes Eclipse Theia from other cloud IDE applications is its extensibility and vendor neutrality. It can be changed using custom extensions that allow you to build a cloud IDE tailored to your needs.
In this guide, we will learn how to set up the default version of Eclipse Theia IDE platform on a Civo managed K3s cluster.
Prerequisites
- You need to have a running Civo Kubernetes cluster to complete this tutorial. If you do not yet have an account, you can sign up here. Once you have a cluster running, make sure you have the KUBECONFIG set and pointing to this cluster. For more detail, refer to "your cluster kubeconfig here".
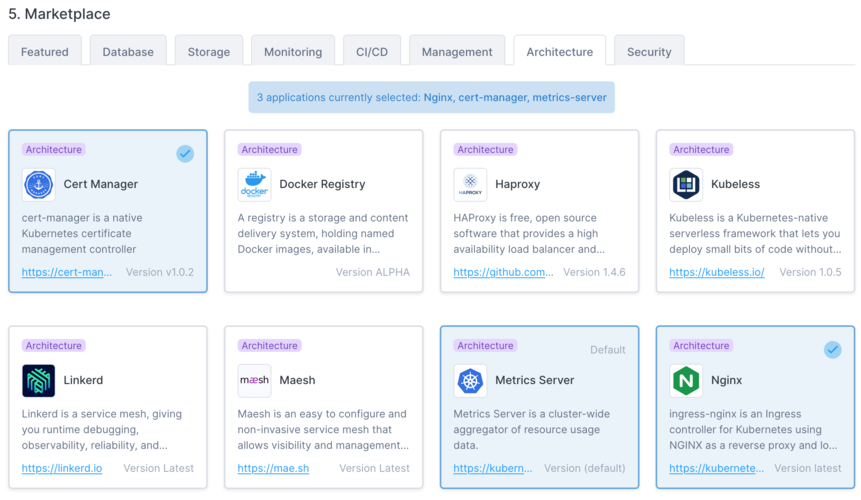
- Have the Nginx ingress controller set up on the cluster. This means that you need to start a cluster without the default Traefik ingress controller, and choose Nginx as the ingress controller from the applications menu.
- Have Cert-Manager installed on the cluster. This can also be installed through the Kubernetes application marketplace.
- A fully qualified domain name to host Eclipse Theia.
- apache2-utils installed as we will be using
htpasswdto enable authentication.
Let's get started
Make sure you have a cluster running with Nginx ingress controller and Cert-manager set up. This is easily done with the Civo Kubernetes marketplace when creating your cluster:
To install and expose Theia to our domain, we need to apply yaml files. We have divided the installation process into three parts.
Install and Expose Eclipse Theia to domain
In this part we will deploy all resources to our cluster. I have prepared a repository on GitHub with all the required yaml configuration files. We will be pulling from this repository's files so if you want to have a look at what's in them or modify them to your use case, you can find the repository here.
For this part we will use wget to save eclipse-theia.yaml locally, in our current directory. In your terminal, run:
wget https://github.com/DoNnMyTh/Eclipse-Theia/raw/main/eclipse-theia.yaml

Now we use our favourite editor to edit the downloaded eclipse-theia.yaml and change theia.example.com to the domain linked with your cluster IP address. For this guide we will be using theia.tros.tech, and you will need to change it to a domain you control that you have configured in your Civo account's DNS configuration. For more information on configuring DNS records on Civo, see this guide.
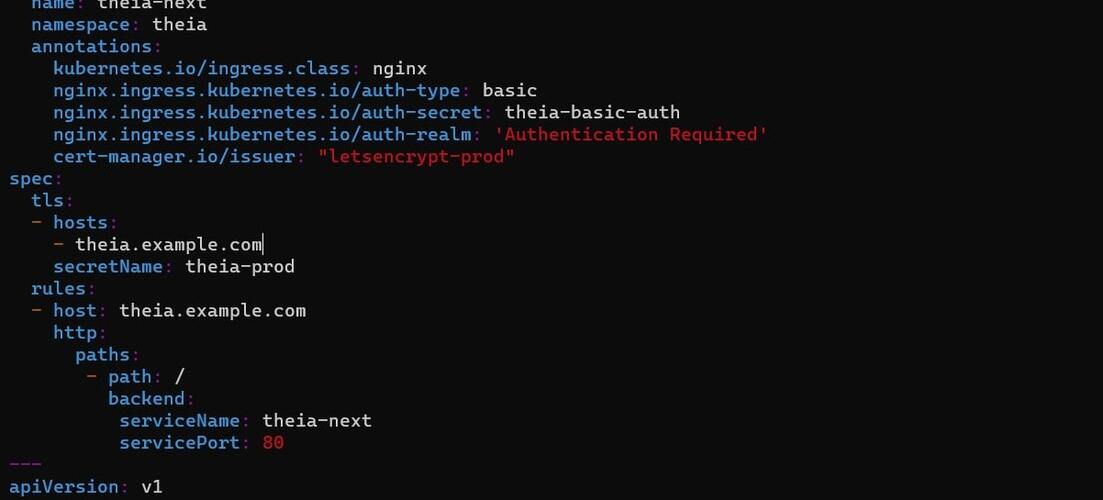
We need to edit the example.com domain
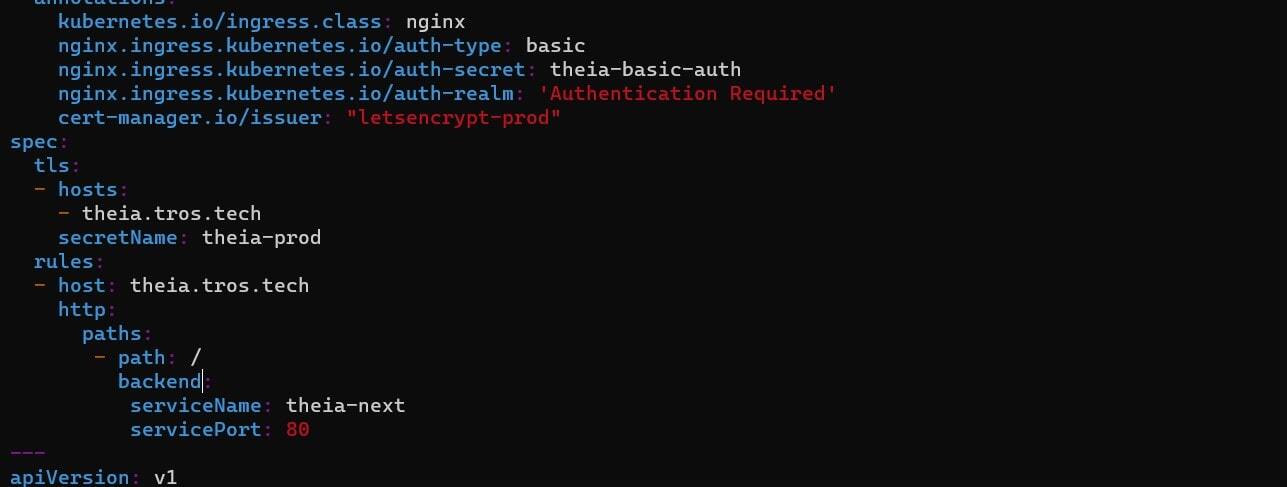
Edited domain to your own details
Now we will use kubectl to create our Deployment, Services, and Ingress to the cluster with a single yaml file.
kubectl apply -f eclipse-theia.yaml

To verify resources have been deployed, you can use the command kubectl get all -n theia.
Now let’s install the HTTPS certificate
For this we need to have a certificate issuer in the namespace theia. Get the yaml file for certificate with the following command:
wget https://raw.githubusercontent.com/DoNnMyTh/Eclipse-Theia/main/production-issuer.yaml

Now open the downloaded production-issuer.yaml in an editor, and edit the email field to your address.

After this use kubectl apply -f production-issuer.yaml to apply the certificate issuer to your cluster. This will be picked up by Cert-manager, and allow you to have a certificate issued for HTTPS.
To verify if certificate is issued, you can run kubectl get certificate theia-prod -n theia - it should give you a message like the following:

Now let us secure our IDE
For controlled authentication of our IDE, we will be using simple htpasswd to set up password control. First, create an empty file called auth. This file needs to be named auth, because the Nginx Ingress Controller expects the secret to contain a key called data.auth. If it is missing, the controller will return HTTP 503 Service Unavailable status. Now we will use htpasswd to generate authentication credentials. This is why you needed to make sure you had the Apache utils installed, as htpasswd is part of that. When you run the following command, it will ask you for a password for the username you have specified, like in the image below.
htpasswd auth <username>

Now we need to generate a secret in our Civo cluster to store the password:
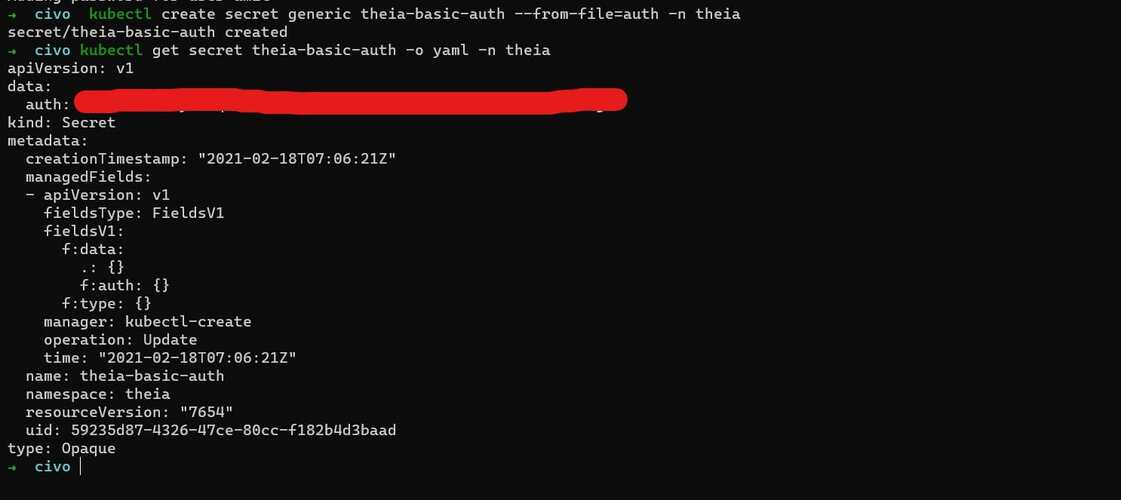
kubectl create secret generic theia-basic-auth --from-file=auth -n theia
To verify the secret, use: kubectl get secret theia-basic-auth -o yaml -n theia
Finishing up
When you will visit your domain, you will be asked for a username and password.

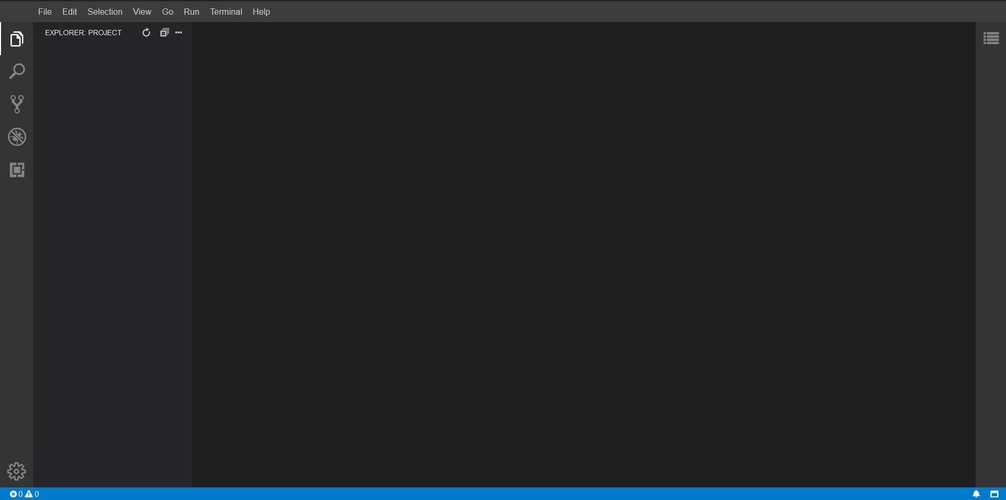
And then you can see your IDE, all ready for your code!

If you wanted to, you could extend this setup process to spin up a development environment on demand using an infrastructure-as-code tool such as Terraform, allowing you to run your IDE for only as long as you needed it to make changes to code, push to your code repository and then delete the cluster to save on costs.
If you have any issues following this guide, ask away in the Civo community Slack or on Twitter. You can find me at DoNnMyTh, and Civo at @civocloud.


