Connecting to your Civo MySQL Database
After setting up your MySQL database with Civo, you can connect to it using various methods. This document guides you through obtaining connection details from the Civo dashboard and CLI, and connecting using the mysql client command.
Retrieving your Connection Details
Through the Civo Dashboard
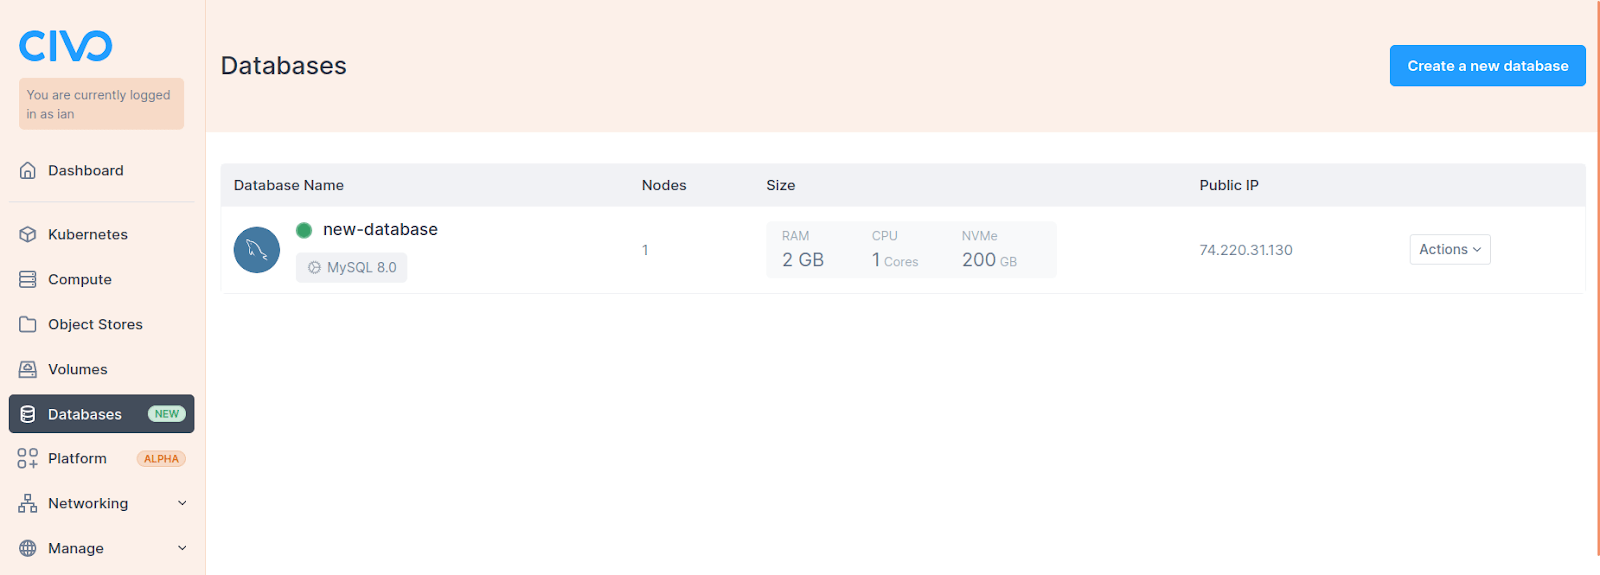
To retrieve your database connection details, go to:
- Your Civo Dashboard page
- Navigate to the database section in the left-hand panel:

- Select your database to view the connection details, including:
- Host IP/FQDN,
- Username,
- Password.

Through the Civo CLI
Use the Civo CLI to manage your databases. Civo CLI allows you to create, update, delete, and list Civo Databases.
- To list your databases, run:
civo database list

- To get the credentials of a specific database, use:
civo database credential [Database_Name]

Connect to your Civo Database
The mysql client command is a popular choice for connecting to MySQL databases.
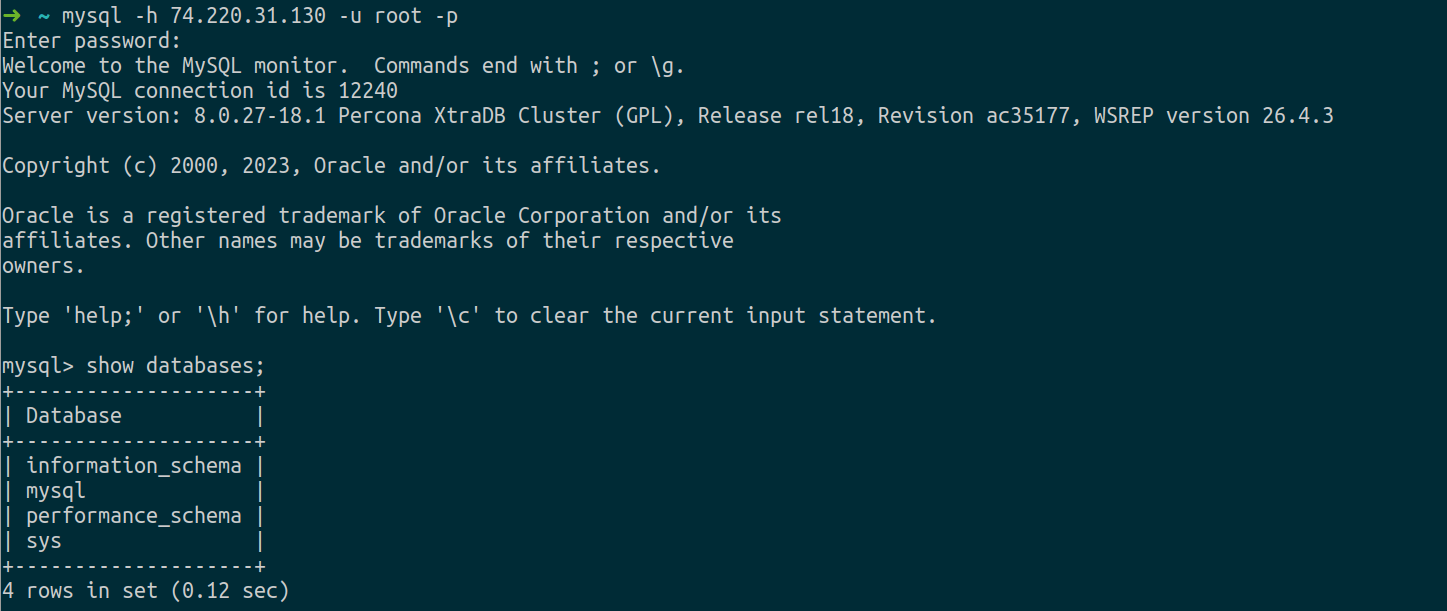
Execute the command without the password and enter it when prompted to ensure security:
mysql -h [MySQL host IP/FQDN] -u [username] -p

Connection Troubleshooting
If you encounter connection issues, verify that your credentials are correct and that the Civo firewall allows connections from your source IP address, if you need further assistance contact support.
Post-Connection Validation
Once connected, run a test query to validate the connection:
SHOW DATABASES;
Ensure that the expected databases are listed and accessible.
Use Case Examples
For a comprehensive understanding of MySQL applications and use case examples, visit our MySQL tutorials. These tutorials offer practical insights and showcase real-world scenarios, helping you effectively implement and utilize MySQL in diverse environments.